





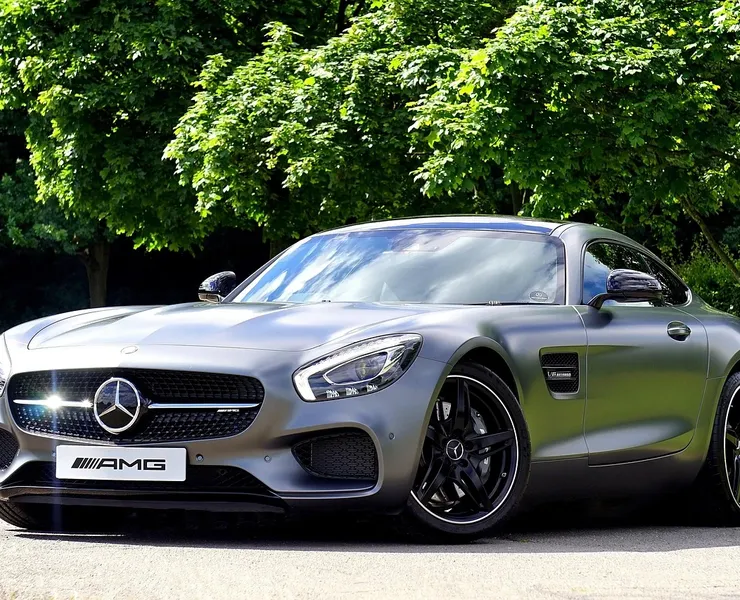

CG Record talked to the artists from Mondlicht Studios to find out how their latest project “Mercedes-Benz EQC – Black Edition” was created and get some useful tips about automotive CGI projects.
The idea behind the project
The idea was developing a little bit spontaneously. We had to create a pitch project for one of our clients, and we definitely didn’t want to use “traditional” automotive backplates – they are good, but there are so many “traditional” projects. We were eager to make something creative.
So we decided not to limit our imagination and spend some time to find the right understanding of what we want to get. Firstly, we were trying to figure out what atmosphere and environment we want to use, and only after that we started to draw some sketches.
Our CEO Maksym Khirnyy was in the head of the production – he created concepts, worked on environment, modeling, visualization and textures. Our good friend and colleague Rainer Reber was working on post-production.
Software
We used 3ds Max, V-Ray, Multiscatter, HDR Light Studio and Adobe Photoshop. We also found a couple of maps, car model and some images for post-production in the Internet, but all the textures and environment were done only by our team.
The biggest challenge
The most stressful thing about this project was understanding that we need to deliver the high-quality result in several days no matter how hard, fantastic or interesting our concepts were. When you have to work in a very strict time frames you don’t have much time on solving different production problems – you have to make decisions, react fast and solve problems you’ve faced.
Creation process
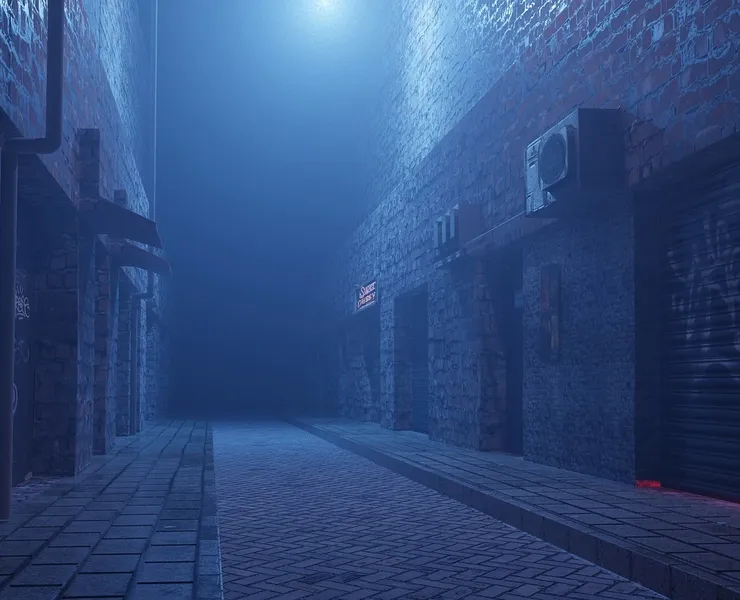
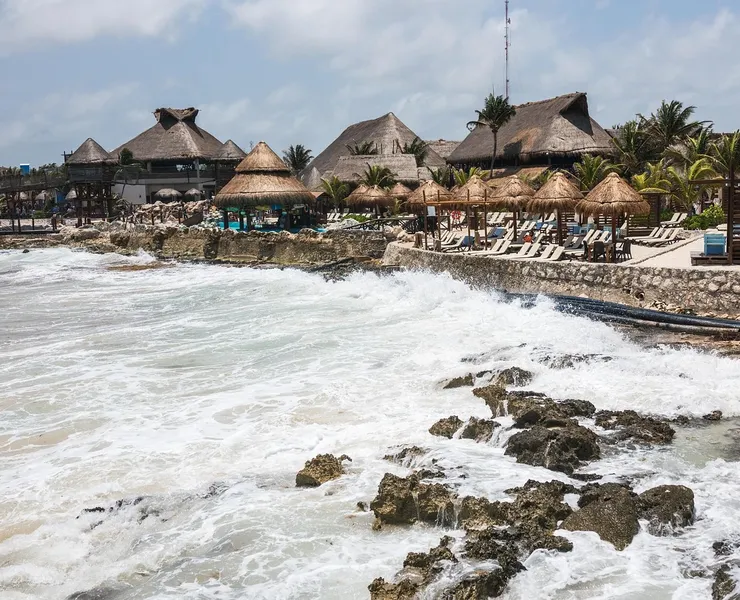
Thinking about the idea for the pitch for one of our clients, we understood that we wanted to create something extraordinary, emphasize the brand and put the car into recognizable, but yet fantastic environment. Like any project, this one began from research – we had to gather references to shape the idea, think the environment and the mood of the images through. As a result, we found two pictures, which became the trigger for our imagination.
The first step of the project – create an environment in 3ds Max. As you can see on a screenshot below, it’s a very simple scene, made from plates. To create this unique environment, we created a simple box, deleted the bottom polygon to make the scene lighter and then used Multiscatter to create a rocky location.
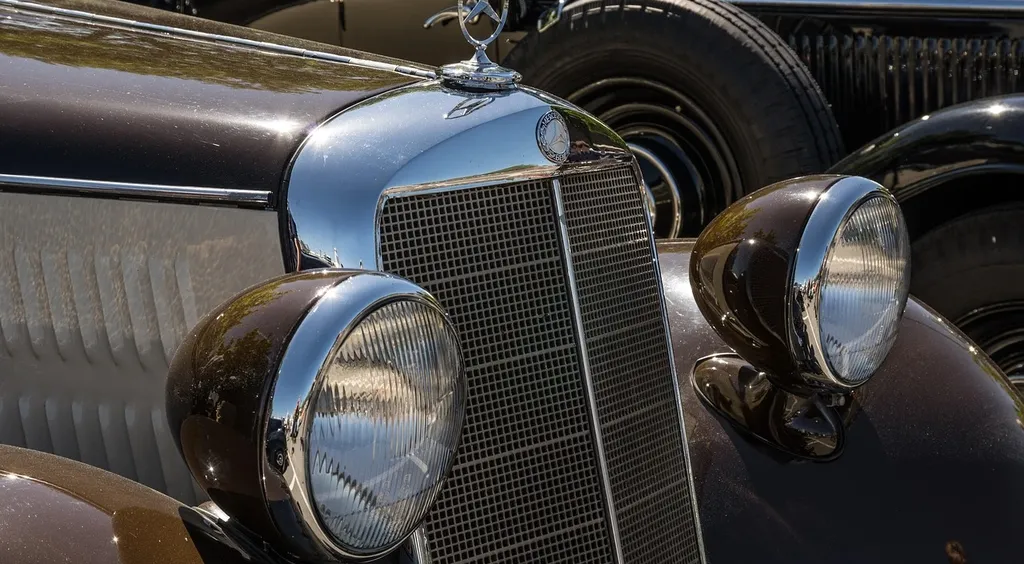
For scattering we used maps – the lighter is the color on the map the more polygon will be extruded. When you added your map to the Multiscatter, you only need to adjust the settings and choose with axis the program will be using (in this projects it was Z-axis indeed). That may sound like an easy job. However, it could become one of the hardest parts of the project because you can spend a lot of time on attempts to make the environment looking as you want it to.
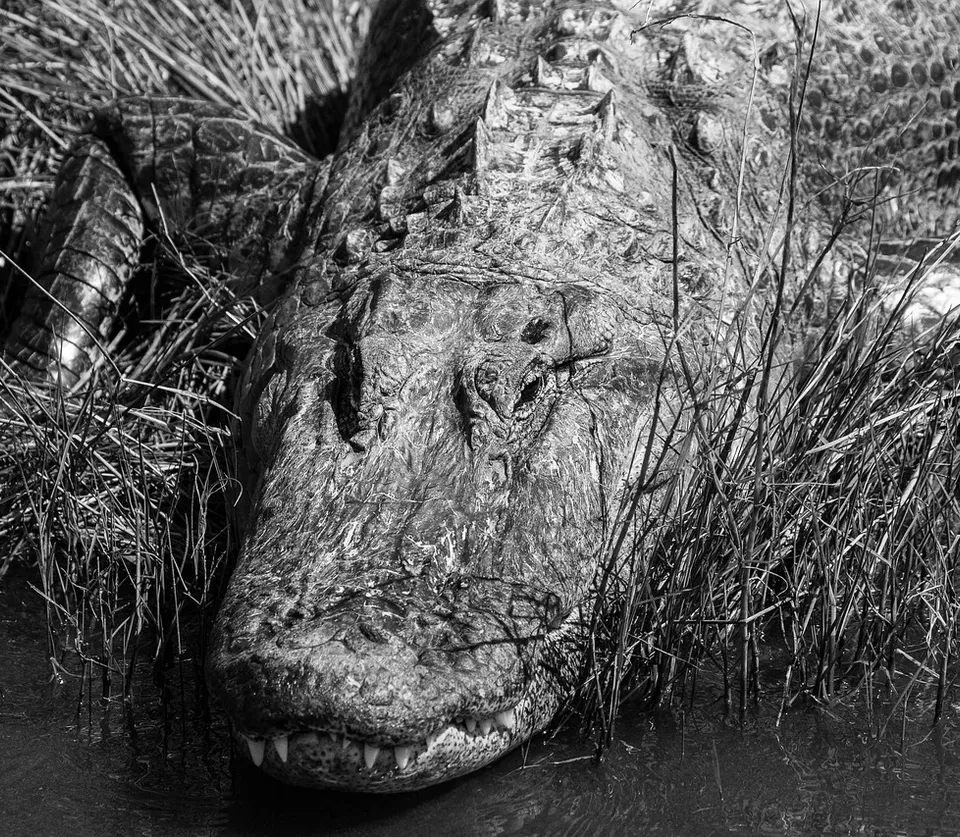
Then we rendered all three maps we had. Pay attention to the map – it’s very interesting. We made it with the help of the website, which allows you to create maps based on real locations.
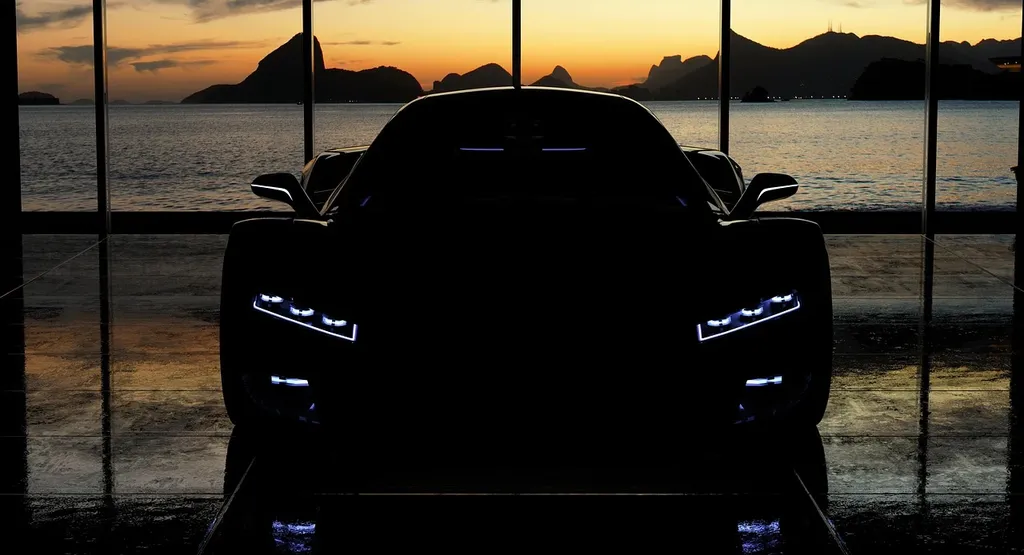

Sometimes you will need to create the maps by yourself. For example, we made one for the image with the Mercedes sign. If you look at it very carefully, you will understand that it isn’t rocket science – just a simple image with the sign and radial blur.
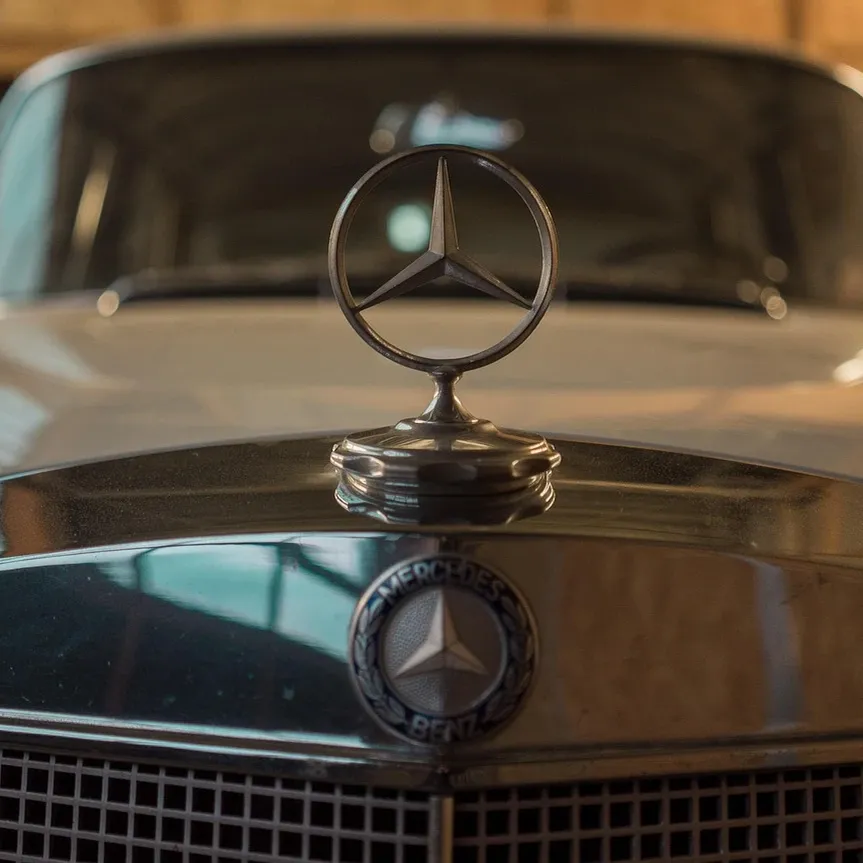
Then we worked with the car – created materials, set up the lighting, worked on the details and rendered. To save time and get more interesting results, we used HDRI Lights Studio to get additional lighting and reflections. It’s vital to render the environment and the car separately. Otherwise, you will spend much more time on post-production stage than it was actually needed.

In this case, post-production began from the sky – we found the images with a dramatic look and decided to use them for the project. Then we added the backgrounds and the car to the image.
Post-production
Post-production is one of the most exciting and challenging parts of any project. At this stage, you gather all you have done trying to make it work all together.
When you finished your work in a 3D program, it’s time to render the image. The secret of a good final image is render elements – you are not working with the beauty-pass on post-production stage, you are gathering the image pass by pass in Photoshop. This approach provides you with more profound control over the image.
In this case, we rendered:
· Global Illumination
· Lighting (it’s always better to have a pass for each light source separately)
· Reflection
· Refraction
Also, we made some additional elements, which helped a lot during the post-production process. For example, Ambient Occlusion helps to darken some parts of the image with the different force of the effect. For that, you’ll need to render several passes with the different value of Ambient Occlusion. Other useful elements for these images were Falloff, Diffuse, Normal and Curvature. Diffuse in “Soft Light” blended mode helps to bring back some details, which were lost because of Specular or Lighting. Normal helps to play with the lighting more, and Curvature allows you to work with the details on the edges of the object, which is very important if you work with lacquered materials.

When we work with render elements of the car we operate in 32 bits, for the environment you may use 16 bits. The first element you need is Global Illumination, then you add Lighting, Reflection and Refraction – all in “Lighten” blended mode (and “Screen” for the environment in 16 bit). It may seem like additional work, but only in these case you’ll get the image you may work on very profoundly. When the car is ready, you can turn it into 16 bit and add to the environment.
After the main part of post-production, you may play with the details in Photoshop and add some details to make the image more photorealistic. At this stage, everything depends on your taste and the amount of time you have. We worked on additional lighting, special effects, color grading, fog and noise to polish the final images.
Hope that helps everyone If you want to support us. You can